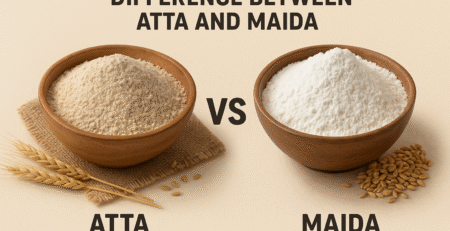
How to Check Flour Quality at Home: 7 Simple Tests Every Smart Cook Should Know
Ensuring the How to Check Flour Quality is essential for cooking and baking that delivers perfect texture, flavor, and nutrition. Flour is a staple found in every kitchen, yet it is one of the most commonly adulterated and poorly stored ingredients. As conscious consumers, we must ensure that the flour we use is pure, fresh, and safe. Below, you will find an in-depth guide designed to help smart home cooks identify the purity and performance of flour through simple yet effective tests you can perform at home.
Understanding What Makes Good Flour
High-quality flour is defined by three key factors:
- Freshness
- Purity
- Texture & Gluten Strength
Good-quality flour will always have a neutral aroma, a fine yet slightly grainy texture, and a consistent color without lumps or clumps. Any deviation in smell, color, or feel can indicate contamination, adulteration, or spoilage.
Visual Inspection for Purity and Color
The first step in assessing flour quality is a close visual examination.
What to Look For
- Color: Pure wheat flour should be creamy white to light beige. Extremely white flour may indicate bleaching agents.
- Consistency: The flour should appear uniform without darker specks, except natural bran particles in whole wheat flour.
- Lumps: Lumps indicate moisture absorption, which can lead to microbial growth.
- Foreign Particles: Sand, dirt, bran residue, or fiber-like particles may indicate adulteration.
Tip: Spread a tablespoon of flour on a plate and observe under bright light for maximum clarity.
Aroma Test to Detect Freshness
Good flour has a neutral, slightly nutty aroma.
Spoiled or poor-quality flour often has the following smells:
- Sour smell → Indicates rancidity
- Musty smell → Indicates fungal growth
- Chemical smell → Indicates bleaching agents or adulteration
Simply hold a small amount of flour in your palm and inhale gently.
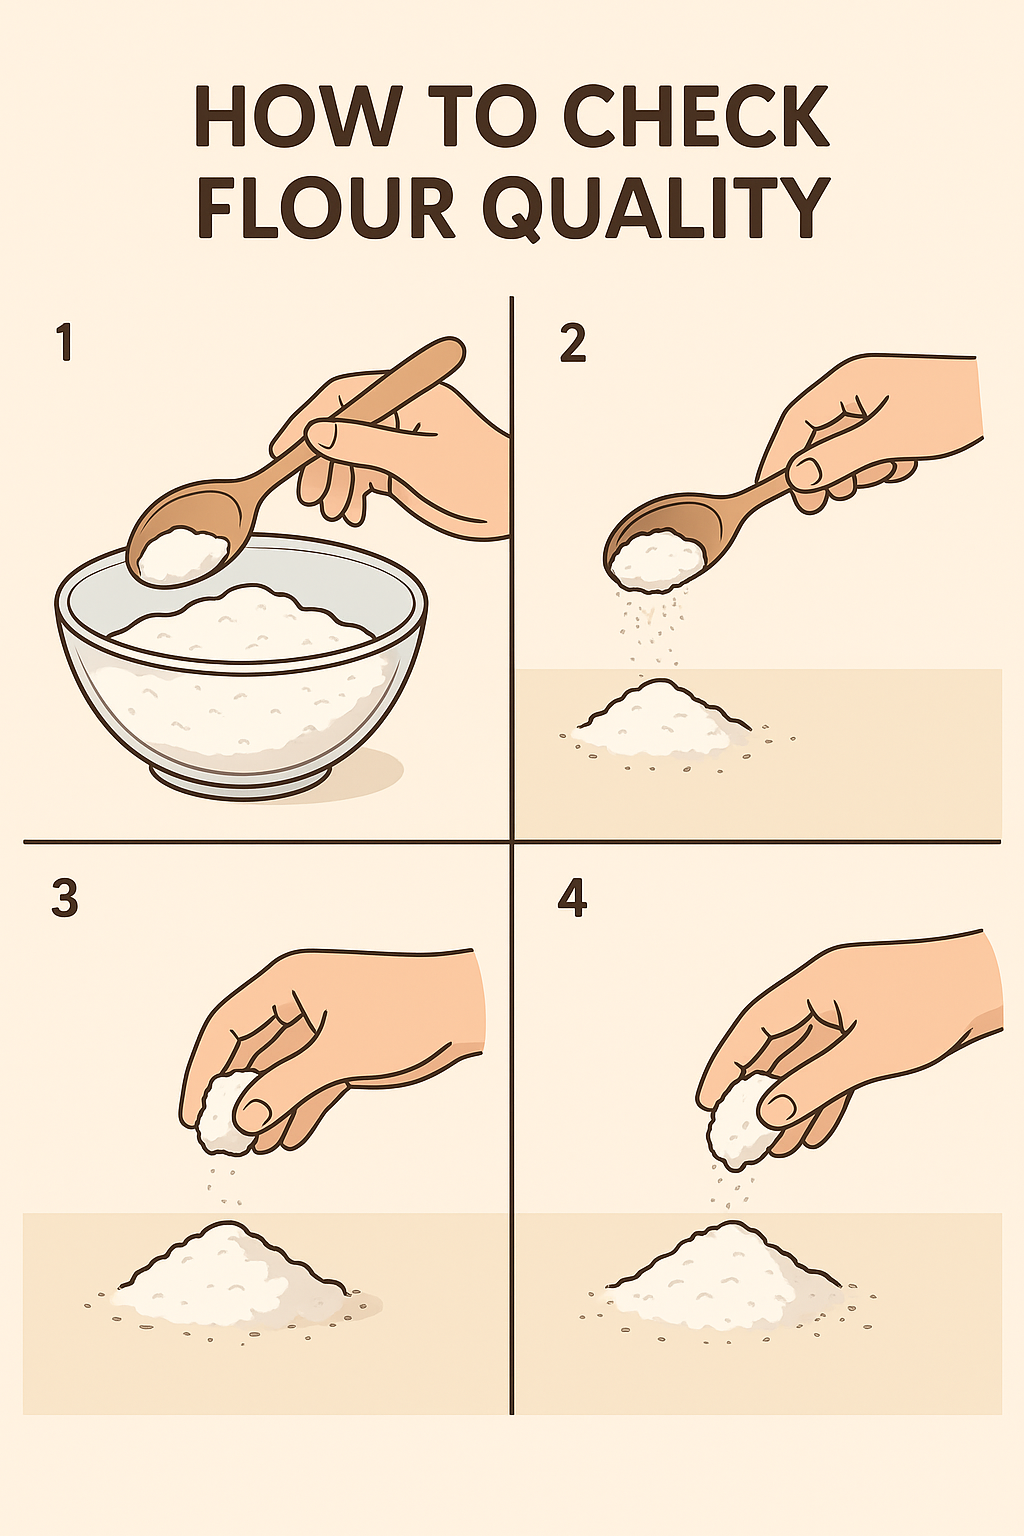
Touch and Texture Test for Consistency
High-quality flour sould feel:
- Soft
- Smooth
- Slightly grainy
Rub a pinch of flour between your fingers. If it feels too rough or sandy, it may be adulterated with coarse materials like chalk powder or starch.
Moisture Test:
Press some flour in your fist.
- If it holds shape: flour contains too much moisture.
- If it falls apart: it’s dry and fresh.
Water Absorption Test for Gluten Strength
Strong gluten content is essential for dough elasticity. This simple test helps determine gluten strength without any tools.
How to Do It
- Take one tablespoon of flour.
- Add few drops of water.
- Knead into a small dough ball.
Results
- Smooth, elastic dough: High-quality flour with good gluten strength.
- Sticky, crumbly, or brittle dough: Poor-quality flour or flour mixed with starch.
This test is especially helpful when choosing atta for rotis or maida for baking.
Bug and Contamination Check
Flour is prone to infestation if stored improperly. To check for insects:
Steps
- Spread flour on a clean plate.
- Look for:
- Tiny black beetles (weevils)
- Web-like formations
- Larvae or eggs
Insects thrive in moist or warm environments, and infested flour must be discarded immediately.
Freezer Tip:
Keeping flour in the freezer for 48 hours before storage kills hidden larvae.
Sedimentation Test for Bleaching & Adulteration
A simple home test helps detect chalk powder, talc, or rice flour adulteration.
How to Perform
- Mix 1 teaspoon flour with a glass of water.
- Stir well and allow it to settle.
Interpretation
- Pure flour settles slowly and forms a cloudy mixture.
- Adulterants like chalk or starch settle quickly or stay suspended.
If you notice white streaks or residue, it may indicate chemical bleaching.
Mold Presence Test
Moisture is the biggest enemy of flour. To detect hidden mold:
What to Check
- Green, blue, or white fungal patches
- Slightly sticky or damp texture
- Musty or foul smell
Even if mold isn’t visible, moisture-saturated flour should never be used.
How to Store Flour Properly for Long-Lasting Freshness
Proper storage is essential to retain flour quality and prevent spoilage.
Best Storage Practices
- Use airtight containers
- Store in a cool, dry place
- Keep away from sunlight
- Refrigerate or freeze for long-term storage
- Use bay leaves or cloves to prevent insects
Following these storage habits can extend flour’s shelf life by months.
Common Adulterants in Flour and How to Detect Them
1. Chalk Powder (Calcium Carbonate)
- Makes flour unusually white
- Settles quickly in the sedimentation test
2. Starch or Rice Flour
- Reduces gluten strength
- Dough becomes sticky
3. Talcum Powder
- Feels slippery
- Leaves a smooth residue
4. Bleaching Agents (Benzoyl Peroxide or Chlorine Dioxide)
- Extremely white color
- Chemical smell
Knowing these signs helps ensure you are using pure, nutritious flour in your daily meals.
Conclusion
By performing these 7 simple home tests, you can be confident that the flour in your kitchen is fresh, pure, and healthy. High-quality flour directly affects the taste, texture, and overall safety of your food, making these checks essential for every smart home cook. Regular testing and proper storage ensure your flour always performs at its best.